Tuesday, November 15, 2011

Barnwood/Beachwood Beams

So the barnwood/beachwood beams aren't really a surprise, since I've been sharing glimpses of them for... oh, a while now... here, here, here, herehere, and here.

But, they are pretty sweet. So let's take a moment and take it all in.
First I bribed my sister to come over and help sand. I can't remember what the bribe was... but it probably had something to do with free washer/dryer and food. Look at her sanding like a pro. She isn't sanding the barnwood a ton, just enough to make it smooth, like beachwood "wood" be {good one, I know}.
Next, I enslaved my sister's old roommate. She was staying with us for a couple weeks before taking a school trip. So I told her that in order to remain sleeping in the office on an air mattress, instead of sleeping in the tub, she had to help me put up the beachwood beams. She was just barely tall enough.
Obviously I put paneling up before I put the beachwood up, but that is another story... let's move on.
I ran a little "driftwood" stain over the wood to unify all the pieces. 
Pretty slick huh? I'm loving my beach {cottage-y} themed bathroom.

Monday, November 14, 2011

Bathroom Looking a little more finished

I like wainscots just as much as the next gal, but since beadboard can be a little overdone (not that I don't love it as you can see in the Beachy-Peachy window) I decided to go with a little more natural/rustic and use some wood, instead of wood composite. One Lath bundle and a 1x4 did the trick.

Originally I had thought I would have a white wainscot in the bathroom, under the horizontal paneling to break up the texture a little bit. But after I had it up, I thought it would blend in just a little too well if it was white. So I went with a little grey.
First to take off the baseboard I used my old trick with my trusty-dusty hatchet and {not so dusty} hammer. Make sure and cut away the old caulk with a utility knife so you get a clean break.
Next I pinned the 1x4 up so that the tops of my laths would all fit perfectly in the end. I used a good dose of liquid nails on every lath and put about 2 to 4 nails in, depending on how straight the sucker was.
The rest is pretty easy. Putty all your nail/screw holes, caulk all the joints in the wainscot {that took a looooong time, not to complain}. Remember you are in a bathroom and you don't want to give mold any places to grow. Then paint and re-install your baseboard. Thee baseboard will need a little caulk/putty/paint love before you're done. But then wa-bam! You've got yourself a very inexpensive, more interesting than beadboard, wainscot. {I also did myself a little distressing with my handsander}

Here's a before picture, looks so boring next to what it is now.

Sunday, August 21, 2011

What you can do with $80 of trim

A {long} long time ago, we found a super sweet deal on CL. A whole heapfull of trim for $80. I think he wanted more, but with my {incredible} bargaining skills we got a whole heap for $80. Not all the projects are exactly finished yet {namely the crown molding that still needs the finishing touches}. But since I finally just used up the last bit of the trim {that just kept giving}, I thought I'd give a shoutout to that wonderful pile that haunted us for so long.

We might have been a little illegal on our drive home with the trim sticking both in front of our Jeep, and behind. {Red flags can only give you so much comfort, but it's even worse when they fall off during the drive}.

I had just finished installing internet wires through our place when we brought the pile home. So sadly we got to live with the mess in our hall for a while. I was successful in getting the bulk of it used up quickly {even if I didn't finish the project, at least the trim was out of toe-stubbing range}. So here's to that wonderful headache pile of trim!

Board & Batten in our Bedroom


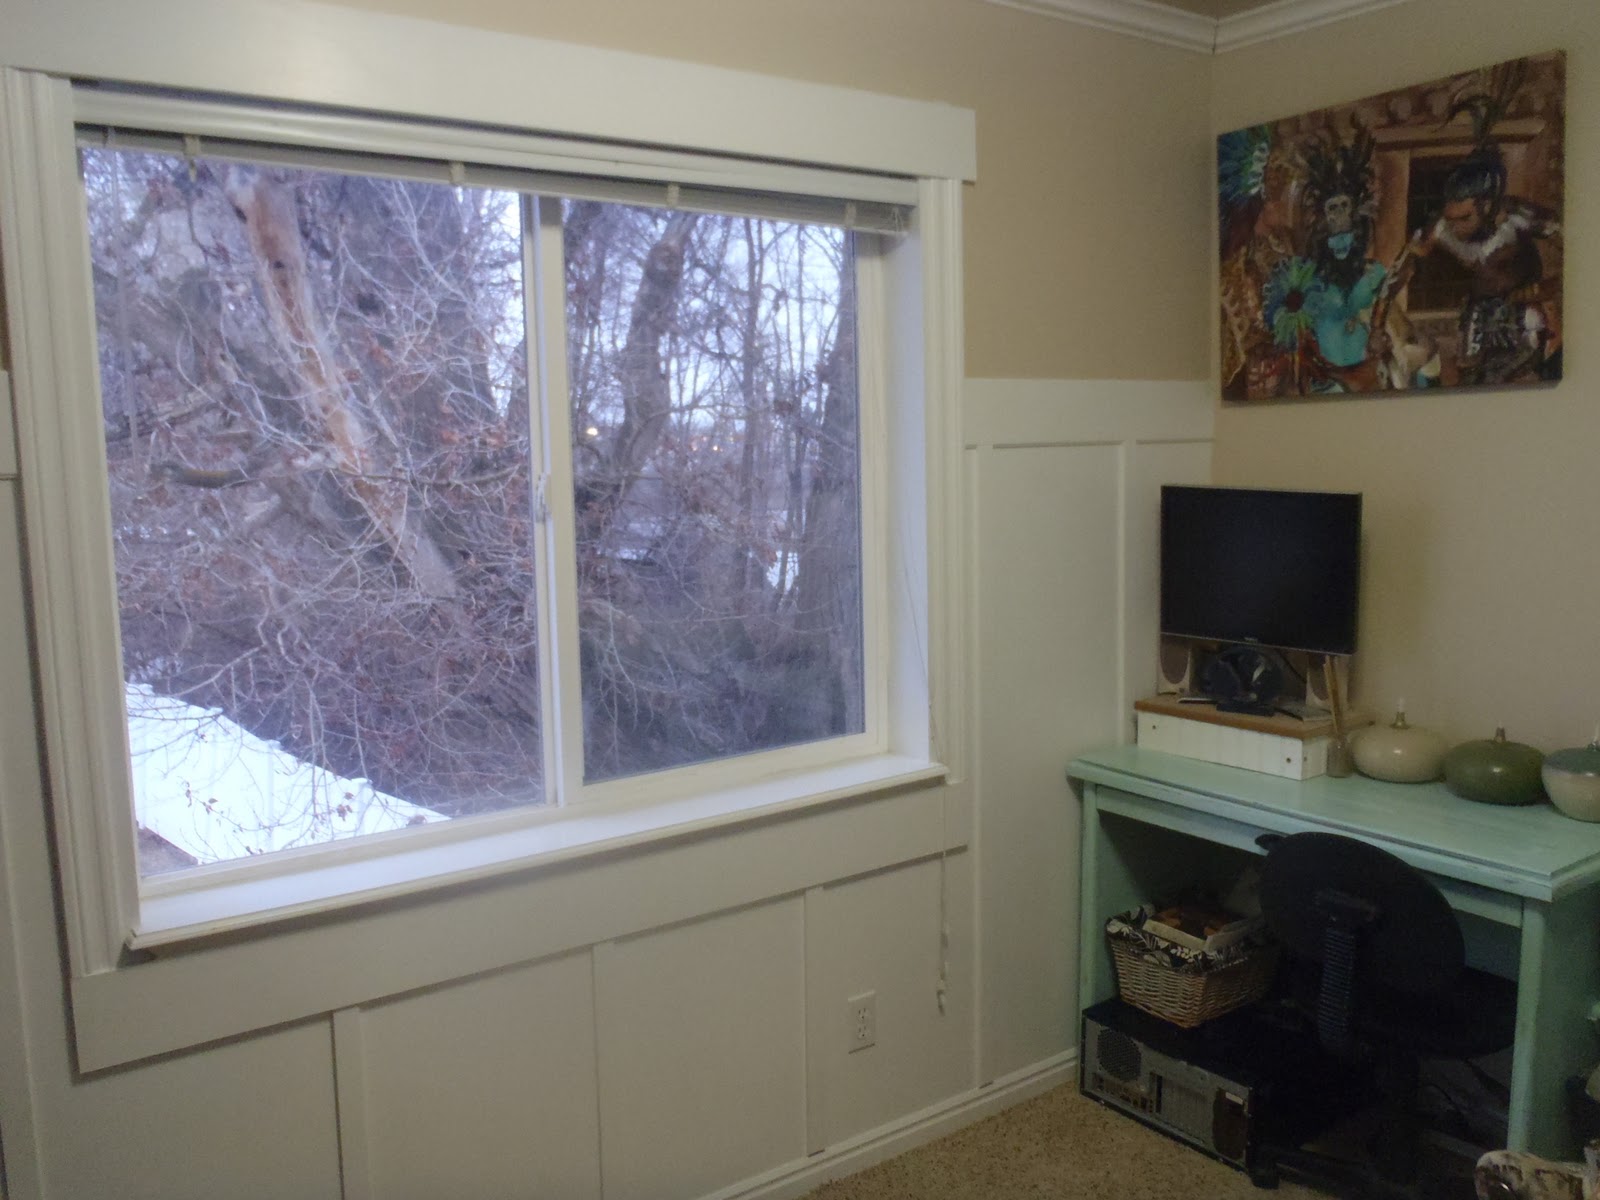
Trim around Bedroom & Office {previously naked} Windows
Crown in Kitchen & Dining
Crown in Office & Bedroom

 Quick Baby Shower Present

 Beachy-Peachy Window

Frame around Bathroom Mirror
So can you believe all that! What a great pile of junk we got for $80! I might wait a while before I venture that journey again though.

The DIY Show Off