
For our first anniversary we got each other a really nice picture of the Salt Lake Temple, where we were married. {it is fun to get ourselves one nice present since we can't think of things to get eachother}.
So for our second anniversary we wanted to get our favorite wedding picture printed on canvas, really huge-like. So we did, we just took 7 months to do it.


Finding where to get the canvas print was the trickiest. I ended up finding Uprinting.com. They had the cheapest online prices that I felt comfortable using {some places I worried about the quality}. But Uprinting has a real person evaluate your submission to make sure it looks good before it gets printed.
They have 2 options to order your canvas. Either stretched on a frame or rolled. Getting it stretched would have cost around $125 for a 24x36. Getting it rolled {and on an online sale day} we got it for $60 and way bigger 36x48.

1x2's are perfect for making the canvas frame. A little bit of measuring, cutting, and some "L" brackets on the inside corners and the canvas is ready to be stretched. (you'll want the "L" brackets on the inside corners so that you don't end up with a weird looking canvas, or end up with the canvas not sitting in the frame properly).

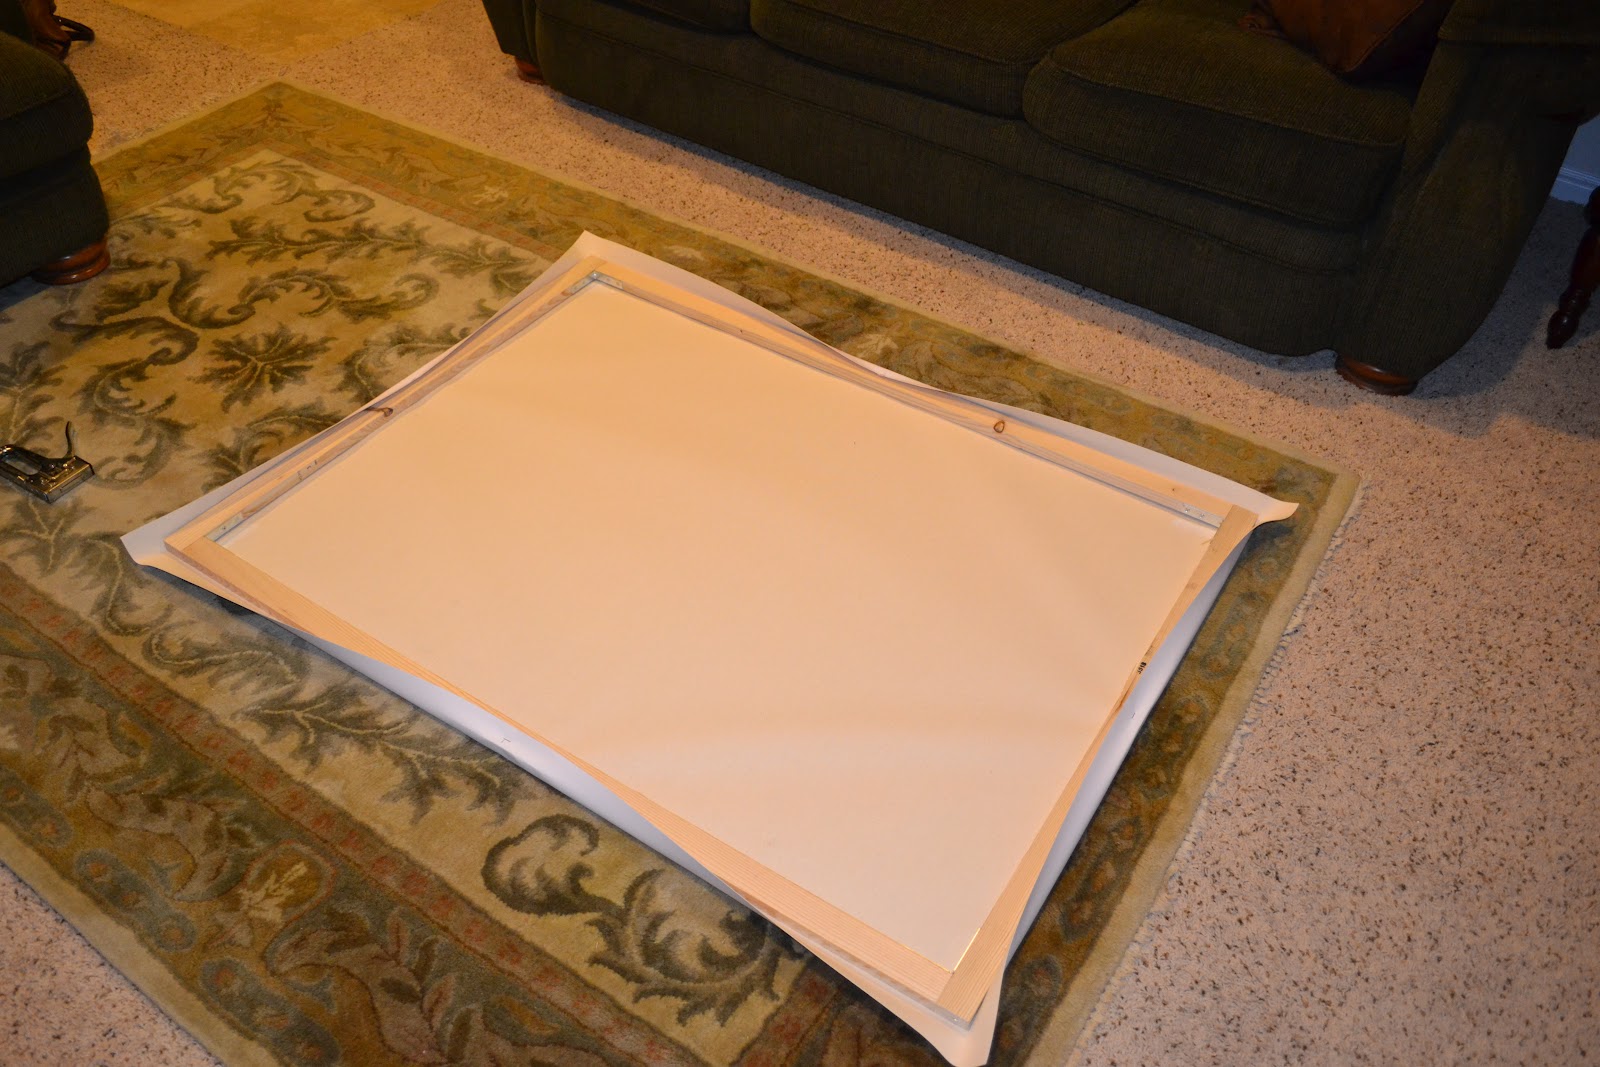

Stretching the canvas is not difficult. All you need is a staple gun. Start from the middle of the four sides and work your way slowly to the corners.

To build the frame I got three kinds of wood trim. One small square type that serves to hold the canvas. One casing type molding that is mostly flat that serves as the bulk of the frame. And one crown type molding to turn the corner to the wall.
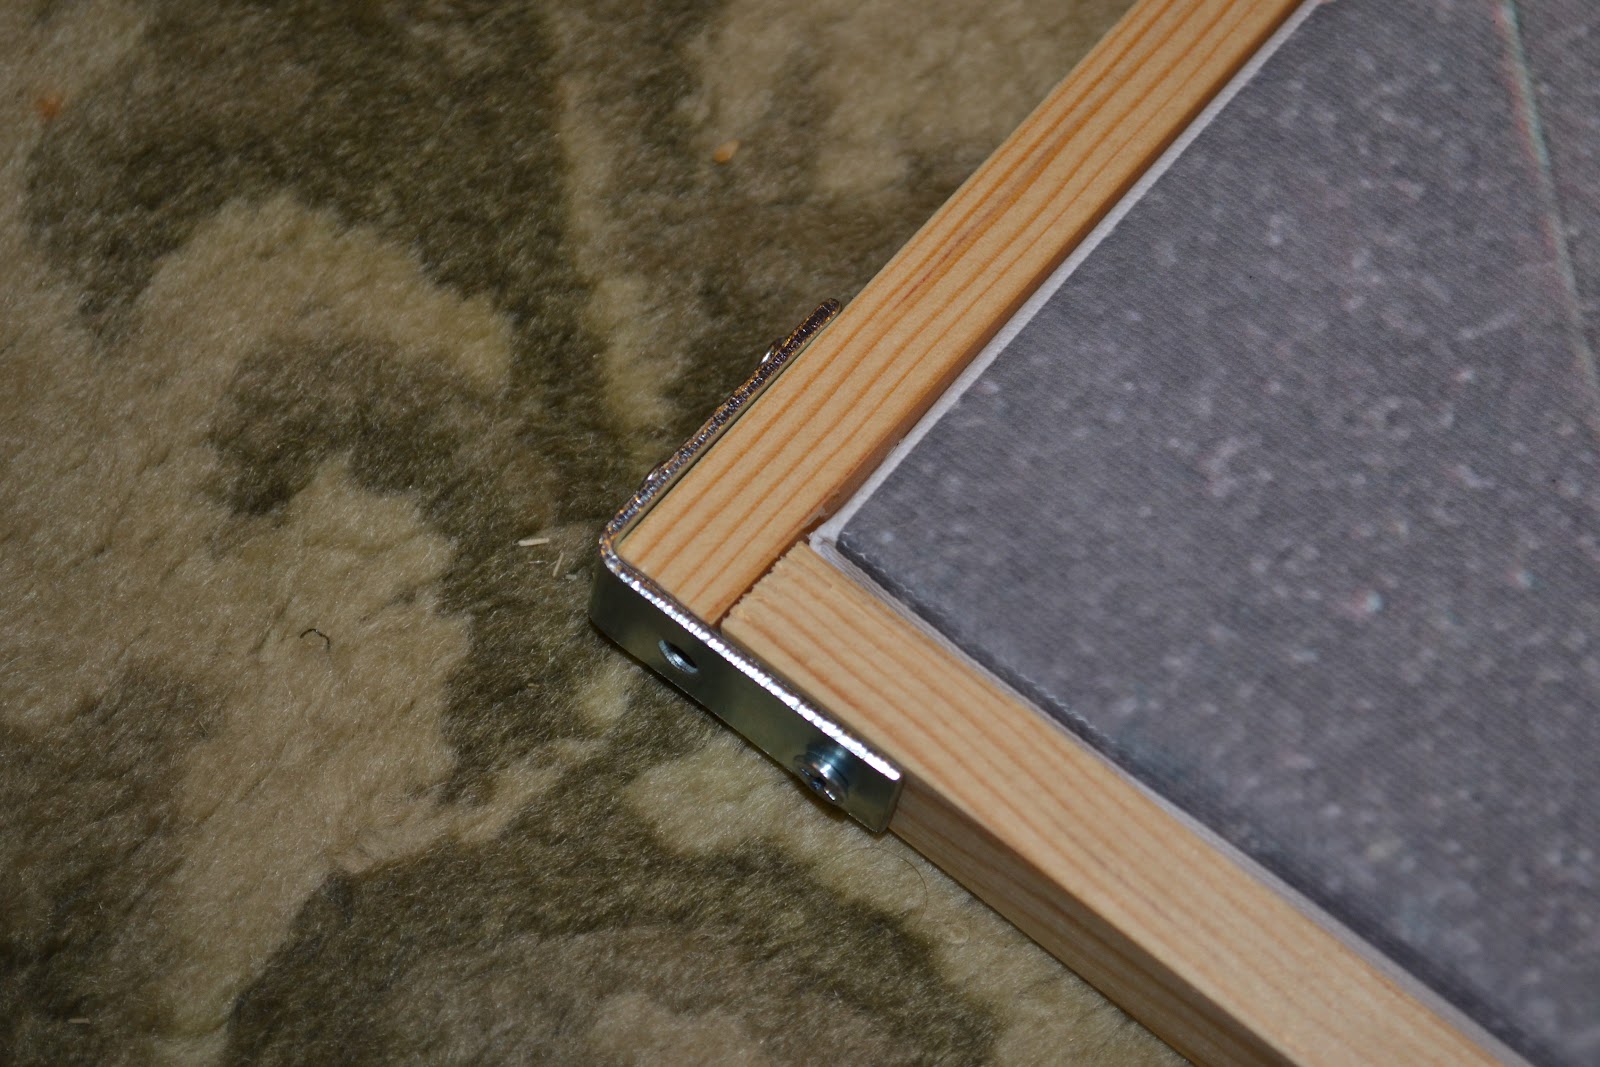
The trim that holds the canvas is pretty easy. I cut it to fit as tight to the canvas as I could, and secured it with corner braces.

Next I cut the casing molding. The small side of each cut is about 1/8" smaller than the length of the canvas, so that the trim will overlap the canvas just a bit and hold it in place.

I secured the casing molding with more "L" brackets. I also used wood glue and clamps to make sure the inner corners looked good. (REALLY wipe the wood glue off of any surfaces you intend to stain, use lots of water and get it off, or else your stain will not stick)

Next came the crown molding. I didn't use "L" brackets on these ones, so I did have some screw holes to putty. I used 3 screws per side, and wood glued the entire length {again making sure to get ALL wood glue off the surfaces to be finished}.

I stained using some left-over Dark Oak. I did just one coat, since the wood really took to it and got dark quick. Filling the screw holes comes after staining the rest of the frame. Tint the wood putty before you put it in. The photo above points to where the putty is, and you can barely see it. To tint the putty, I just mixed it with my finger on some tin foil.

Here's the final product. Happy 7 month late anniversary my wonderful hubby.

The cost of printing a canvas this large {36x48} already stretched is about $150 - $200. Then looking at getting it framed, depending on the quality of frame, you're looking for around at least $400 - $600. At least if you look at local framing shops or Michael's.
I am going to take a look at my favorite frame shop in Boise, Idaho, this Summer when I need a frame for my annual fair painting. I'll let you know what the prices look like there.
For now, I am pretty happy with our $110 DIY package, verses the $550-$800 alternate.
Gorgeous!
ReplyDelete